LASER HARP
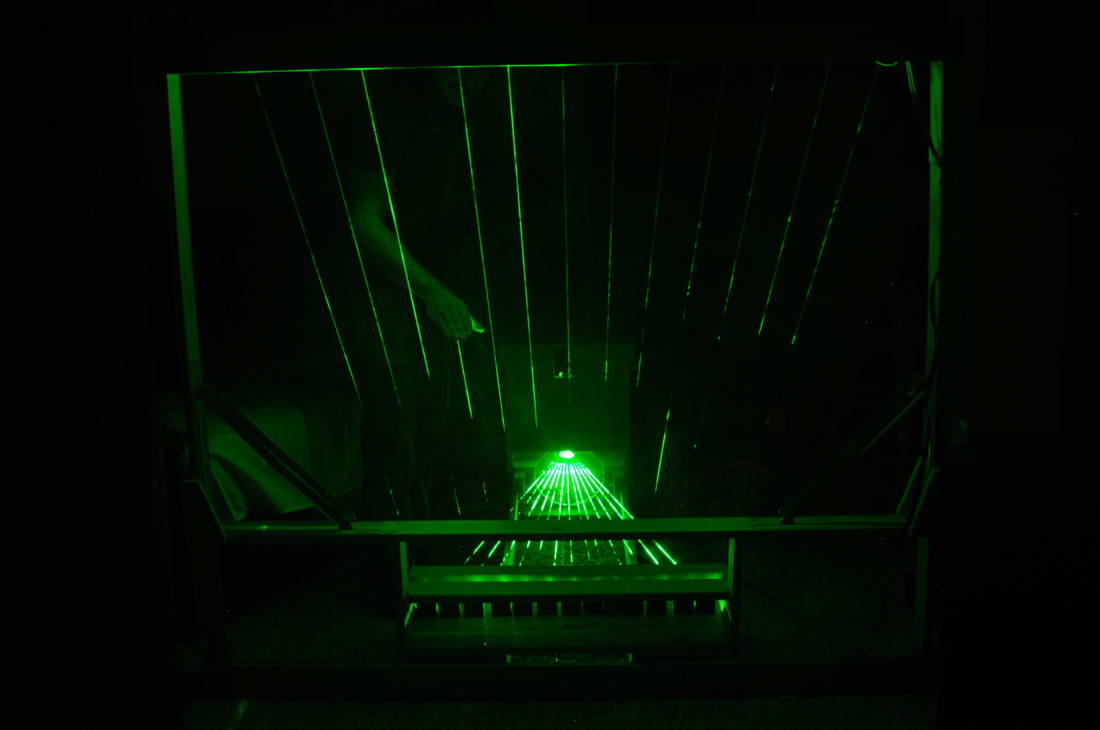
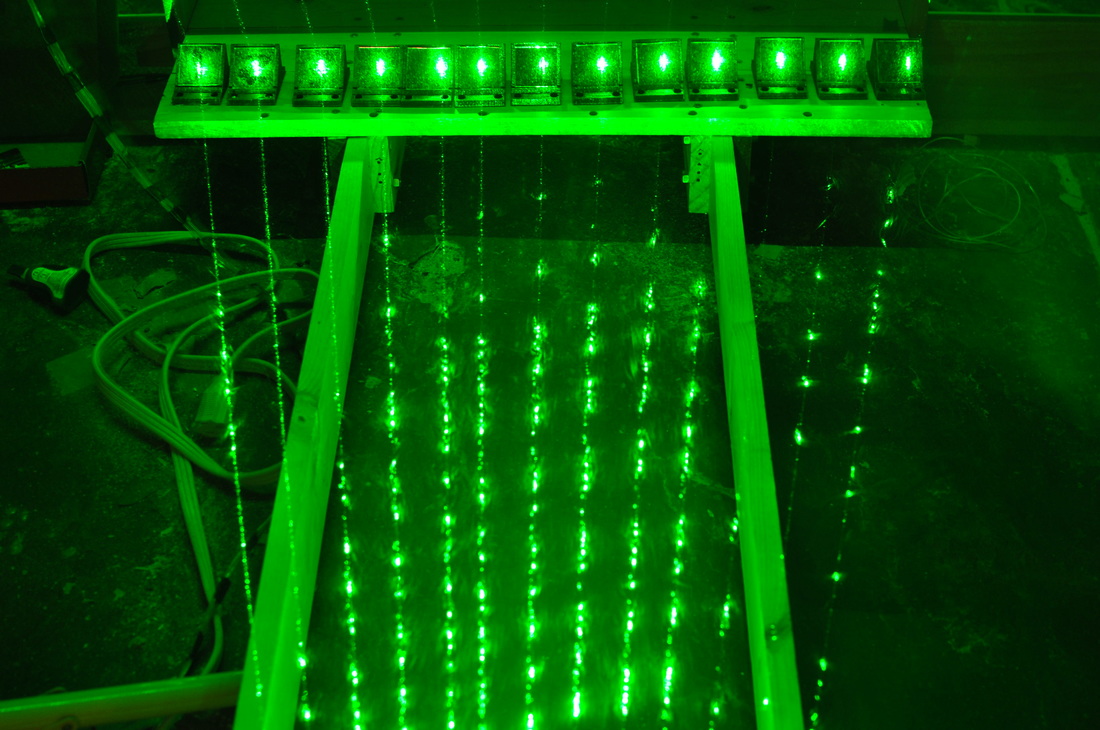
The laser harp is an electronic instrument that is played by blocking laser beams. Several laser beams are produced, and a note is played when one of the beams is blocked by the player, similar to plucking a stick on a real harp. The device must therefore produce a laser beam for each note and also have a sensor for determining when a beam is blocked.
I started constructing a laser harp through funding from the optics group Spectra at Washington University in Saint Louis. The harp will be used at future Spectra events at high schools and other locations in Saint Louis. Special thanks to OSA, SPIE, and Spectra for providing financial support for the project. Here is a video of me playing the harp. There is some aliasing in the video, but they look pretty continuous in person. For a more technical explanation of the construction of the laser harp, check out the instructables I wrote.
I started constructing a laser harp through funding from the optics group Spectra at Washington University in Saint Louis. The harp will be used at future Spectra events at high schools and other locations in Saint Louis. Special thanks to OSA, SPIE, and Spectra for providing financial support for the project. Here is a video of me playing the harp. There is some aliasing in the video, but they look pretty continuous in person. For a more technical explanation of the construction of the laser harp, check out the instructables I wrote.
CONSTRUCTION
Laser harp frame
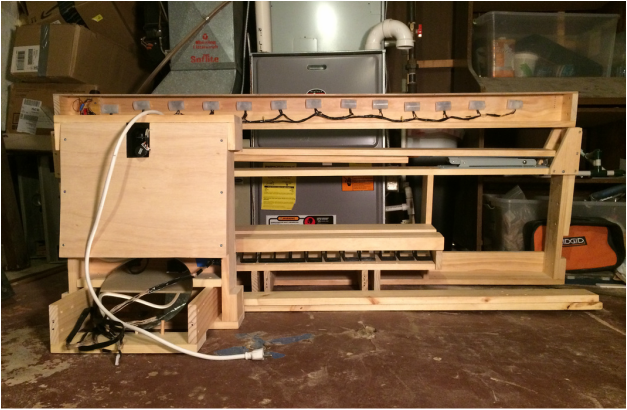
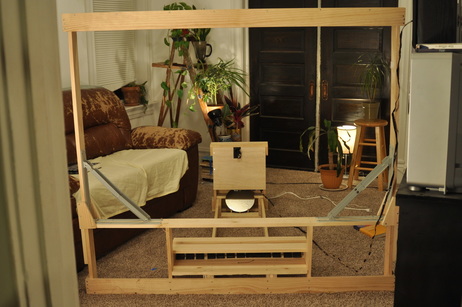
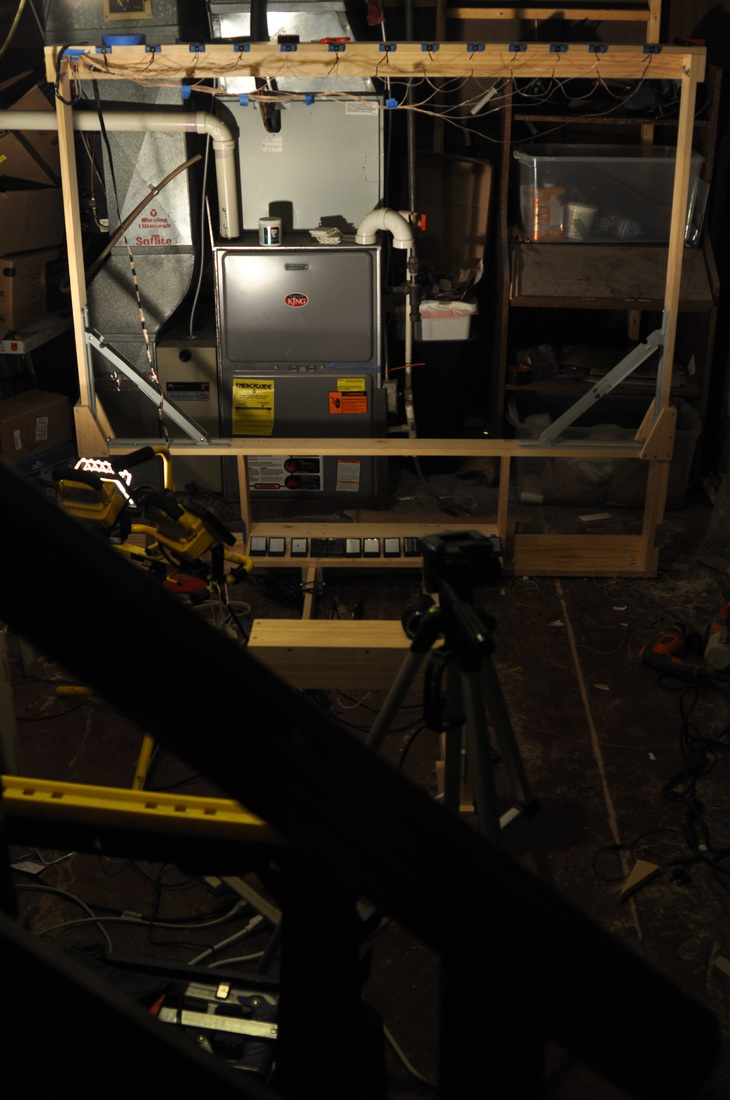
The laser harp is so big that it was designed to be taken apart. The assembly consists three parts that can be folded with several hinges and held in place with 18 bolts that can be tightened by hand. Shown here are all three parts of the harp. There is also an interactive plot of the laser harp so that you can see how the lasers reflect from the different mirrors.
The laser harp is so big that it was designed to be taken apart. The assembly consists three parts that can be folded with several hinges and held in place with 18 bolts that can be tightened by hand. Shown here are all three parts of the harp. There is also an interactive plot of the laser harp so that you can see how the lasers reflect from the different mirrors.
|
Creating laser harp strings
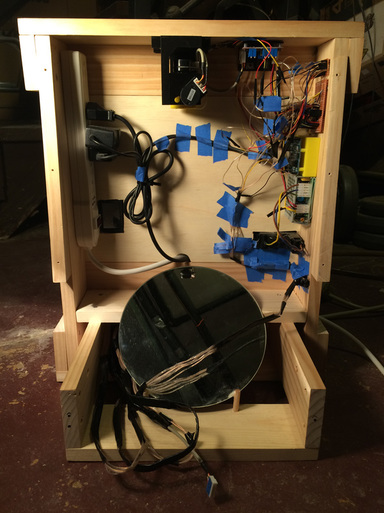
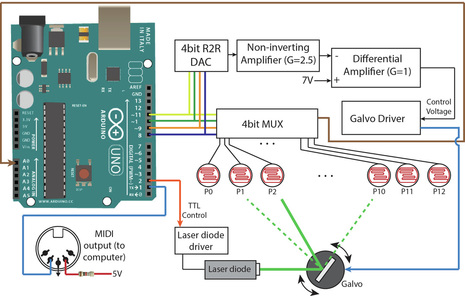
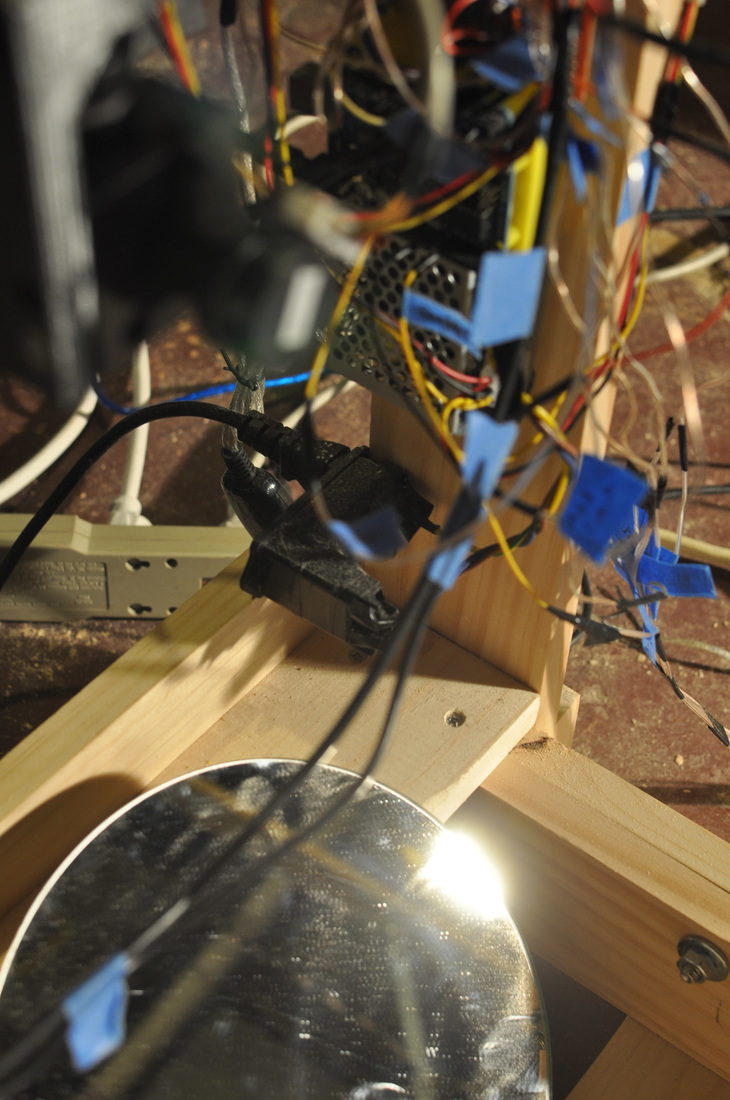
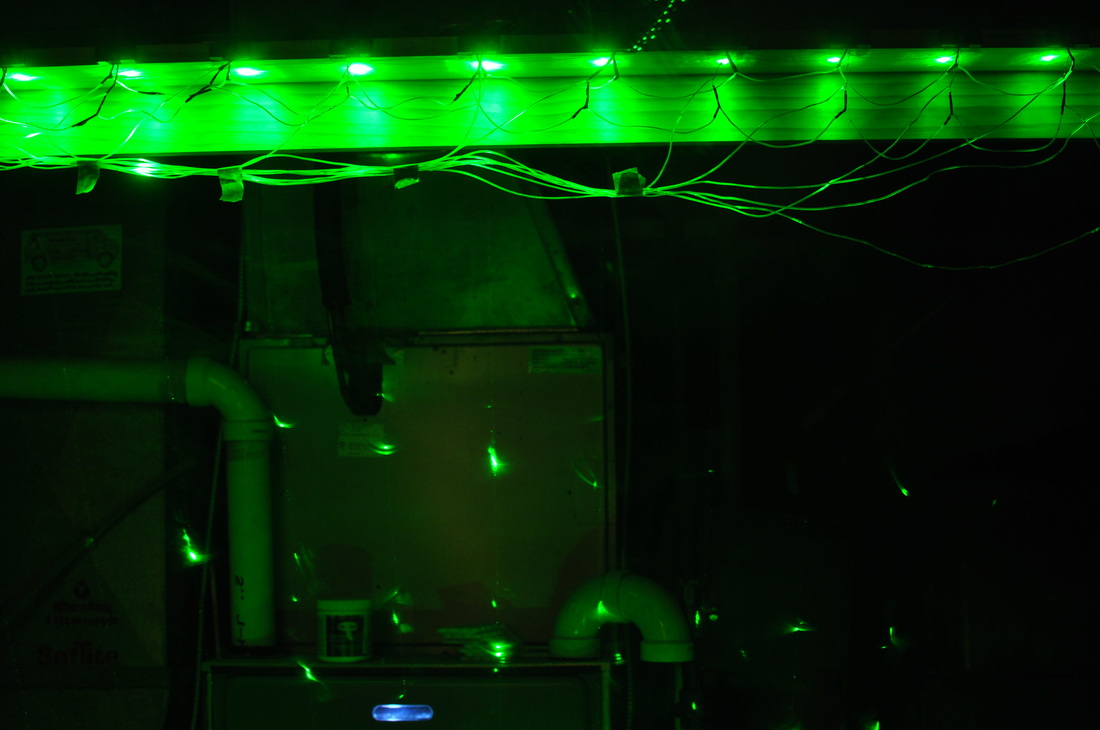
I wanted the laser harp to have thirteen strings. To do this, a laser beam is moved to thirteen different position (for thirteen different strings/notes) by moving a mirror galvanometer. The mirror galvanometer, or galvo for short, is a mirror that can quickly move to different positions depending on a control voltage that is sent to it. At the end of each laser beam is a photoresistor that is used to detect if a beam is blocked (shown as black points in the graph). When this is detected, a note is played. I also needed the laser beam to be turned off when moving positions so that it appeared as though there were thirteen distinct positions and not a continuous sheet of light. To generate these signals, I used an Arduino microcontroller. One of the greatest challenges of the project was creating an analog output that was fast enough to move the galvo (and laser beam) so that it appeared like there were really thirteen different beams and not a single beam being moved to different positions. I constructed a 4-bit R2R digital to analog converter (DAC). The digital output of pins 8-11 incremented thirteen times (for the thirteen positions), and the DAC generated an analog voltage ranging from 0 to 4V. I then amplified this signal and ran it through a differential amplifier to get an analog voltage from around -7 to 7 volts for the galvo. The laser diode was synchronized with the galvo using the Arduino. |
|
|
Detecting when a beam was blocked
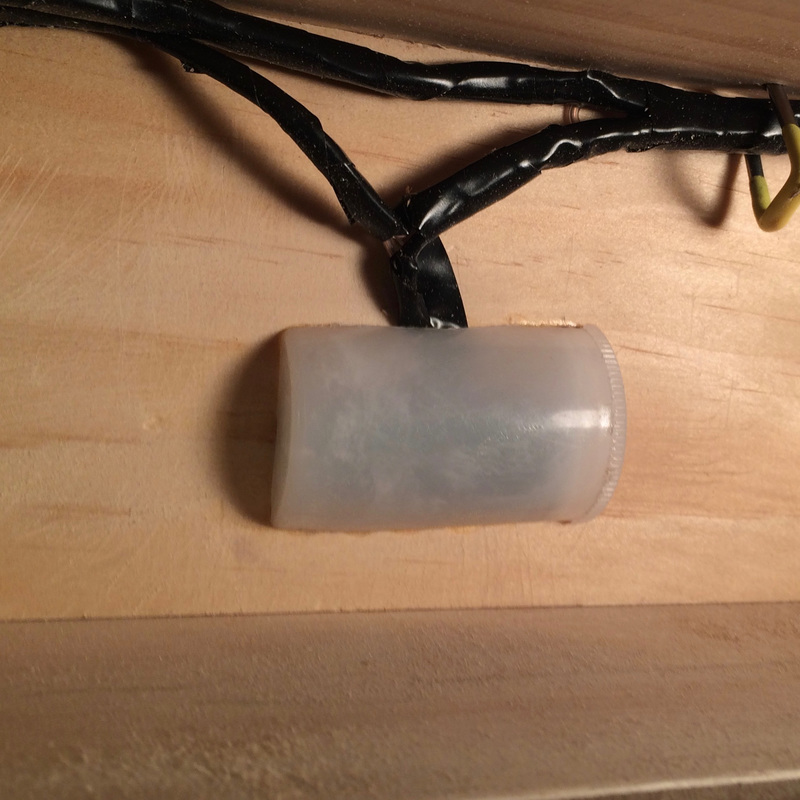
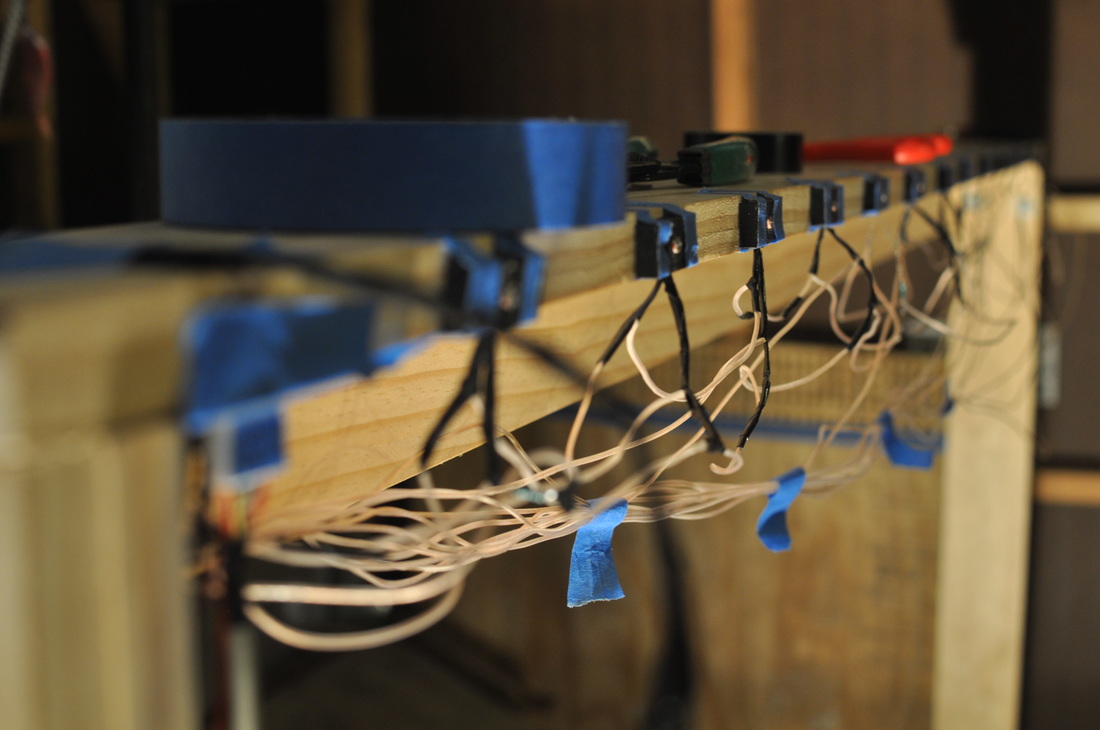
The thirteen beams were directed to thirteen different photoresistors (resistors that change resistance depending on how much light hits them). They are labeled as P0 - P13 in the schematic. These photoresistors enable you to convert changes in light to changes in voltage that can be measured. When the beam is blocked, the resistance of the photoresistor changes because the laser light is no longer hitting the photoresistor. The change in voltage is then sent to the Arduino. Because the Arduino only has 6 analog input channels, I had to use a 4 bit multiplexer controlled by the same four digital signals that controlled the galvo. The output of the multiplexer was then directed to a single analog input channel on the Arduino. The photoresistors were covered with old plaster film canister so that the light was diffused when hitting the sensor. This way the laser harp didn't have to be so perfectly aligned. |
|
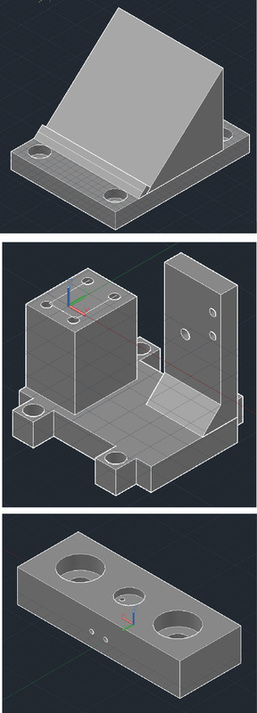
Playing music
The Arduino software has a terrific MIDI signal library, so it wasn't tough to convert the output of the 4 bit multiplexer into a MIDI signal. The program checks if a beam is being blocked (by checking for a voltage change from the photoresistor), and then creates the MIDI signal (note and velocity) depending on which beam was detected to be blocked. So in reality, this laser harp is a MIDI controller. You can select whatever type of MIDI signal you desire. I chose to select middle C to the C one octave higher in frequency. Garageband could then be used to actually create audio signals that could be played through speakers. 3D printing I had to mount several components: laser diode, the Arduino, galvo, mirrors, and photoresistors. Using Autocad, I designed these parts and 3D printed them at work. Here are a few examples of the parts. Software The program for controlling the laser harp was written in Arduino programming environment. You could program the harp to direct the beam to any position at any speed. A laser show? Controlling the type of MIDI signal created is also possible. |
