Project 1: Image Alignment with pyramids
In this project, we aligned glass plate exposures taken by Sergey Prokudin-Gorsky using an image pyramid based technique.
Creating an image pyramid
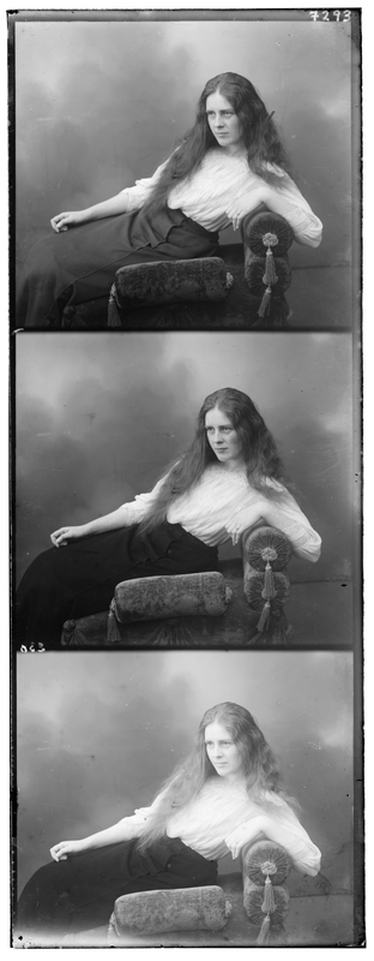
The original glass plate slide was first divided into equally sized images. Each of these images corresponded to a red, green, or blue channel of a color image. Because the slides were initially arranged as BGR, I switched the order to RGB at this point. An image pyramid was then created for each color channel.
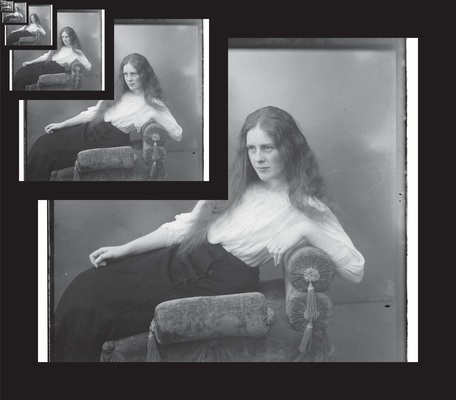
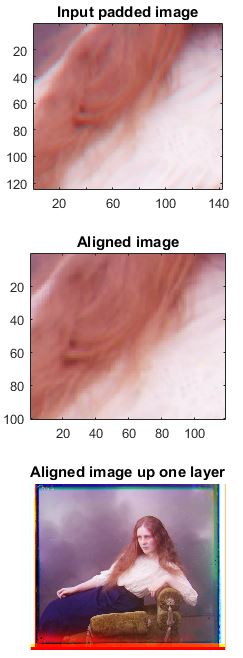
Images were smoothed with a Gaussian filter (fspecial and imfilter) and then subsampled by selecting every nth pixel, where n was the layer in the pyramid. Note that the same filter was used for each layer, but because the image continued to be subsampled it was if the standard deviation of the Gaussian filter was increasing for each layer. I used a total of seven layers for the pyramid so that lowest resolution layer had around 30 x 30 pixels.
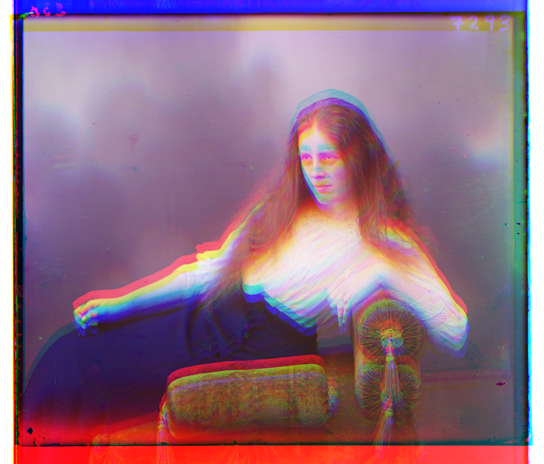
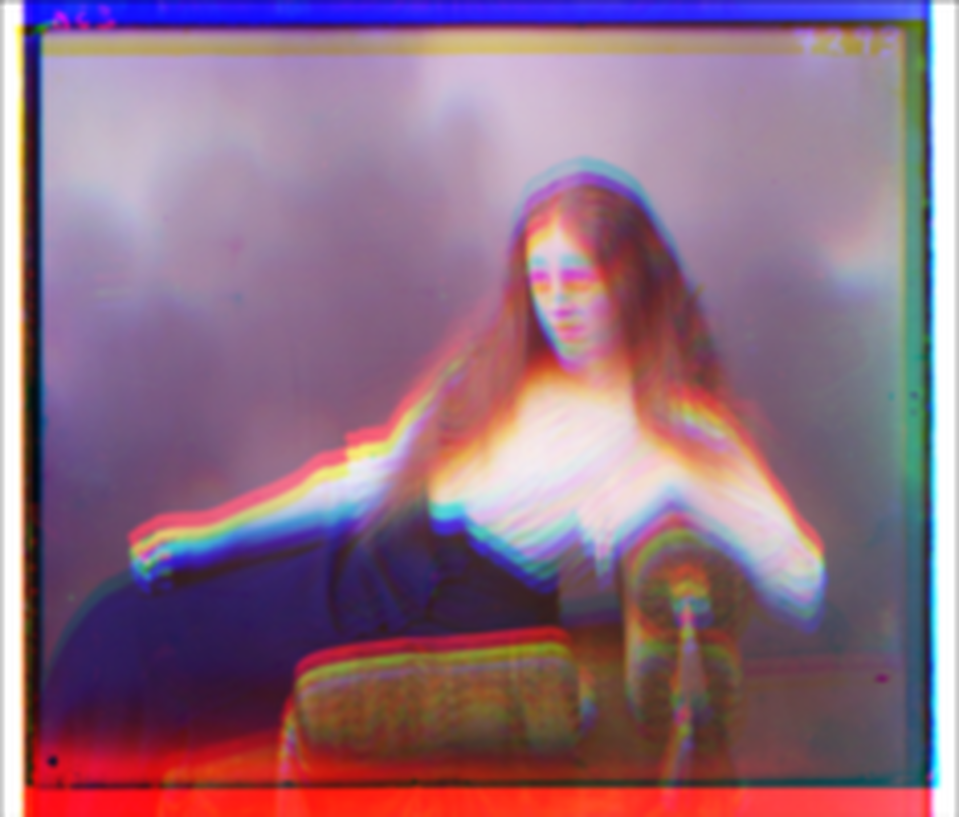
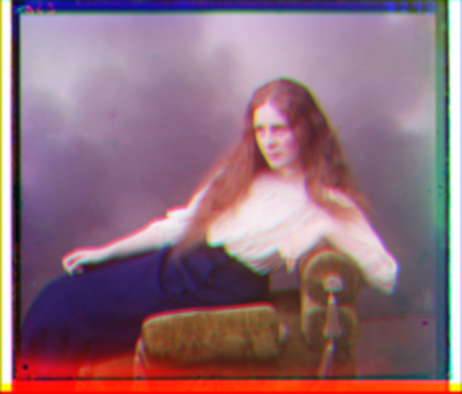
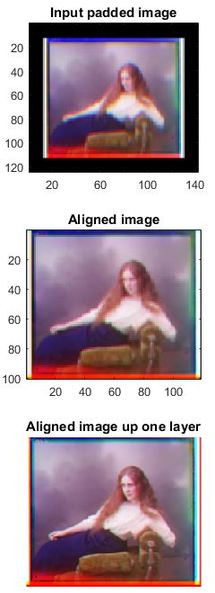
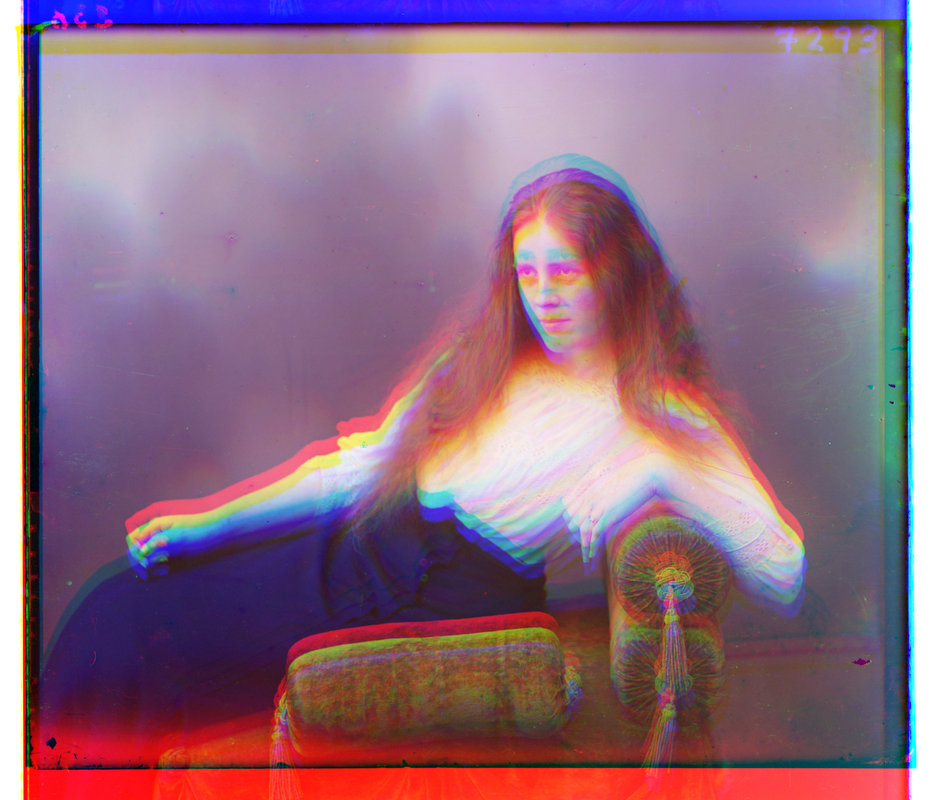
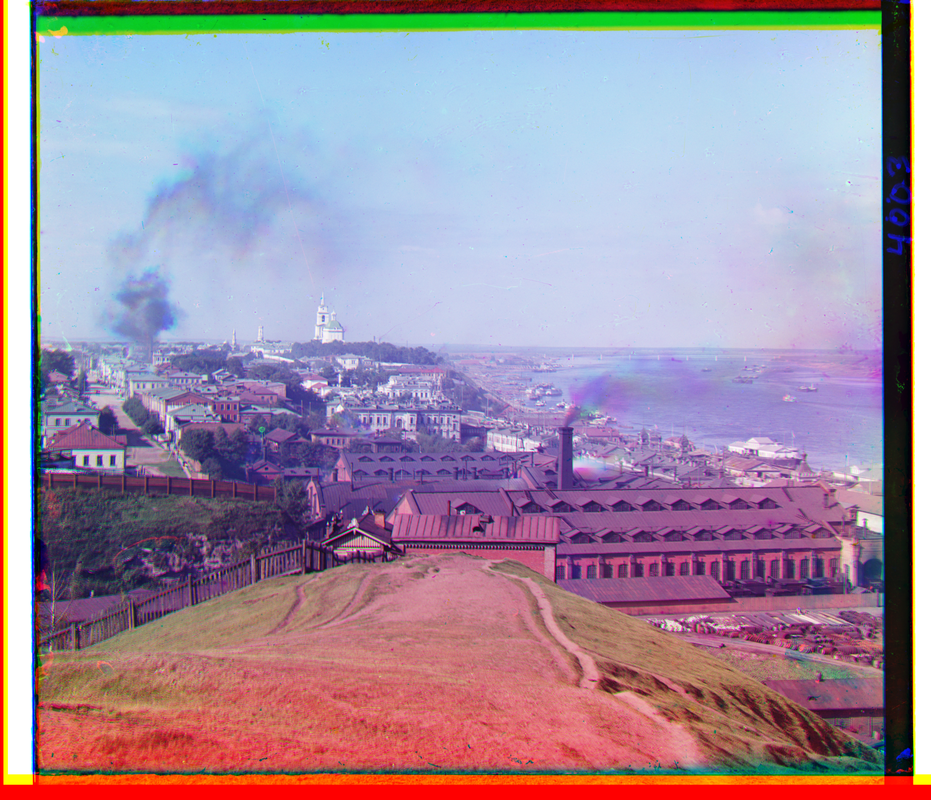
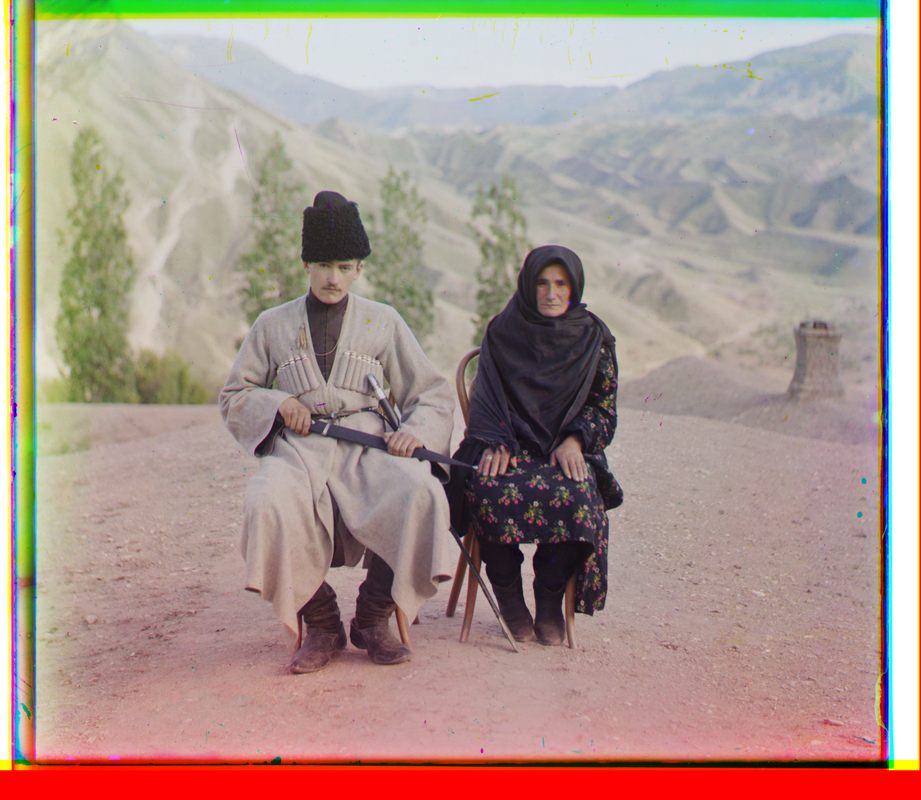
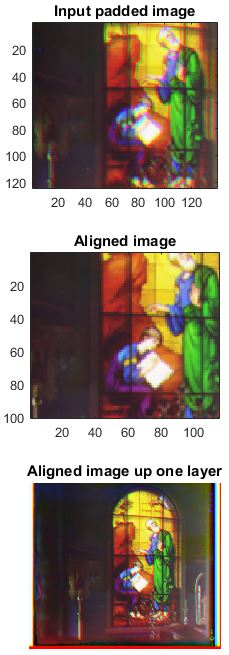
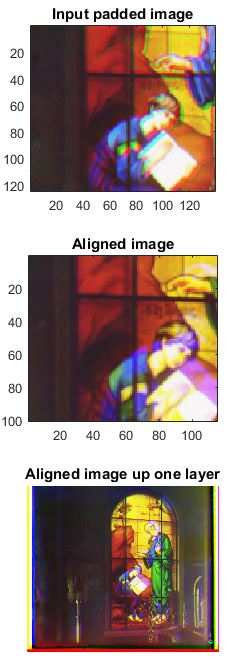
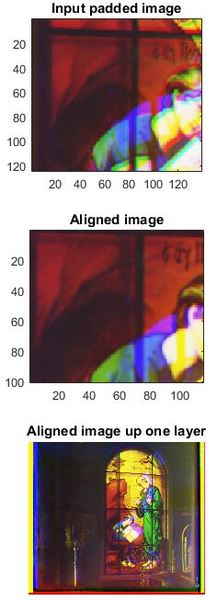
I also zero-padded the images so that I would be able to shift images in the alignment part of the assignment. Shown is original glass plate images, misaligned images, and an image pyramid for one of the glass plates.
Single scale implementation
I used the red channel image as the base image for the alignment. First I cropped the red channel image to remove the zero pad and then swept this image across the padded blue and green channel images. For each position, I calculated the 2D correlation coefficient (corr2) between the red channel and the blue or green channel. I then found the position that had the highest correlation coefficient; this corresponded to where the images were best aligned.
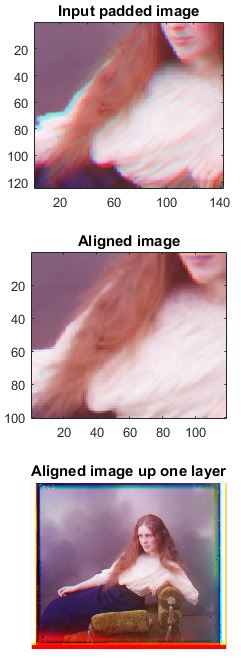
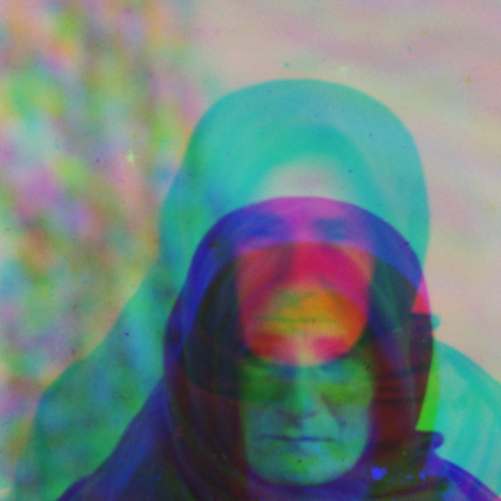
Shown are the results for layer 5, a 200 x 235 pixel image. I didn't do the algorithm for a higher level because it would have taken a chunk of time to do this for all the possibilities in a high resolution images. You can see an improvement in the alignment. I also tried the sum of squared differences as a metric to quantify alignment, but found it did not work as well because of differences in the intensity across the colors.
Multi-scale implementation
The lowest resolution level was aligned first using the entire image. I then adjusted the next layer image by the shift found in this level. This required doubling the shift because the next layer had two times the resolution. Instead of shifting across the entire image, I took a subset of the image with the same dimensions as the lowest resolution image. Again, the red image channel was cropped and shifted across the larger blue or green channel images. Images were aligned with respect to the highest correlation coefficient.
The user has the ability to tweak a couple parameters in order to achieve the best results:
1. The amount of padding (i.e. the number of the displacements being made). Increasing the number of displacements improves the chances of best alignment if the images are really misaligned, but it will take more time
2. Number of layers that are used in the multi-scale alignment. Trade-off between time and quality of alignment
3. Which layer to start the alignment. The higher the layer (worse resolution), the faster the algorithm. If you start with a higher resolution layer, you may improve results.
Results
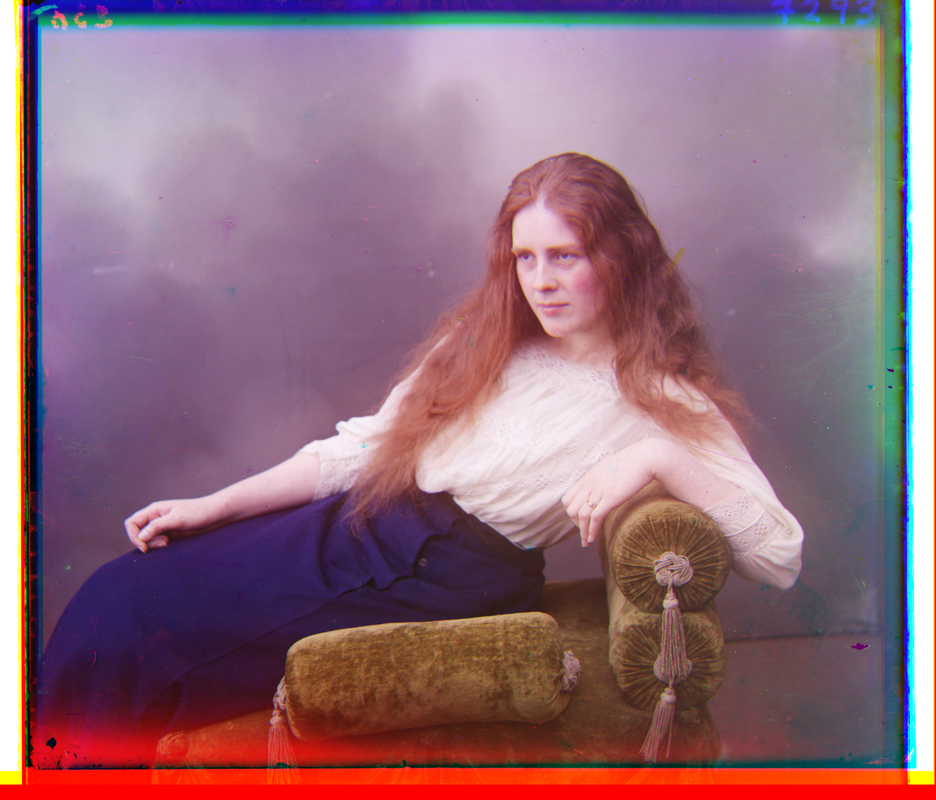
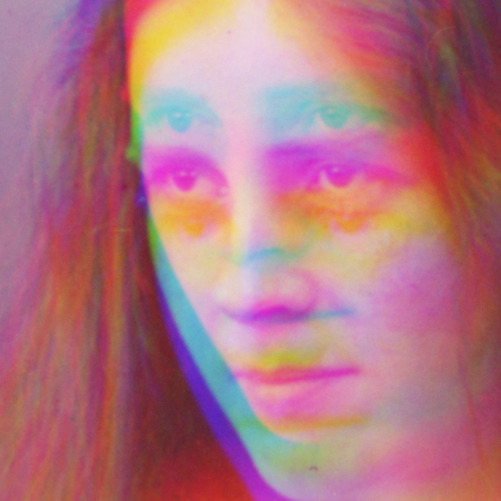
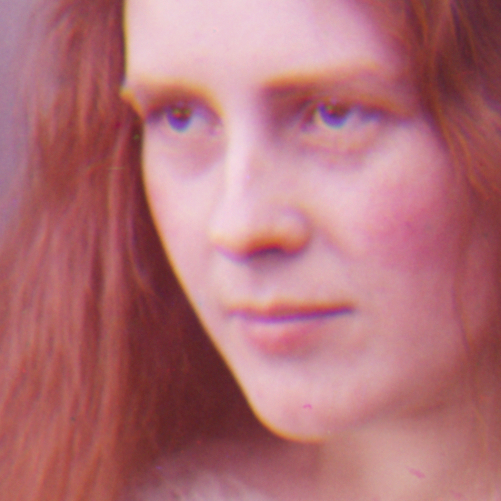
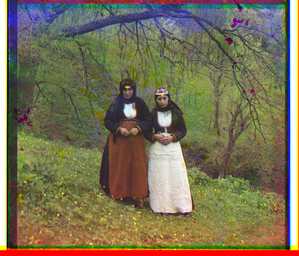
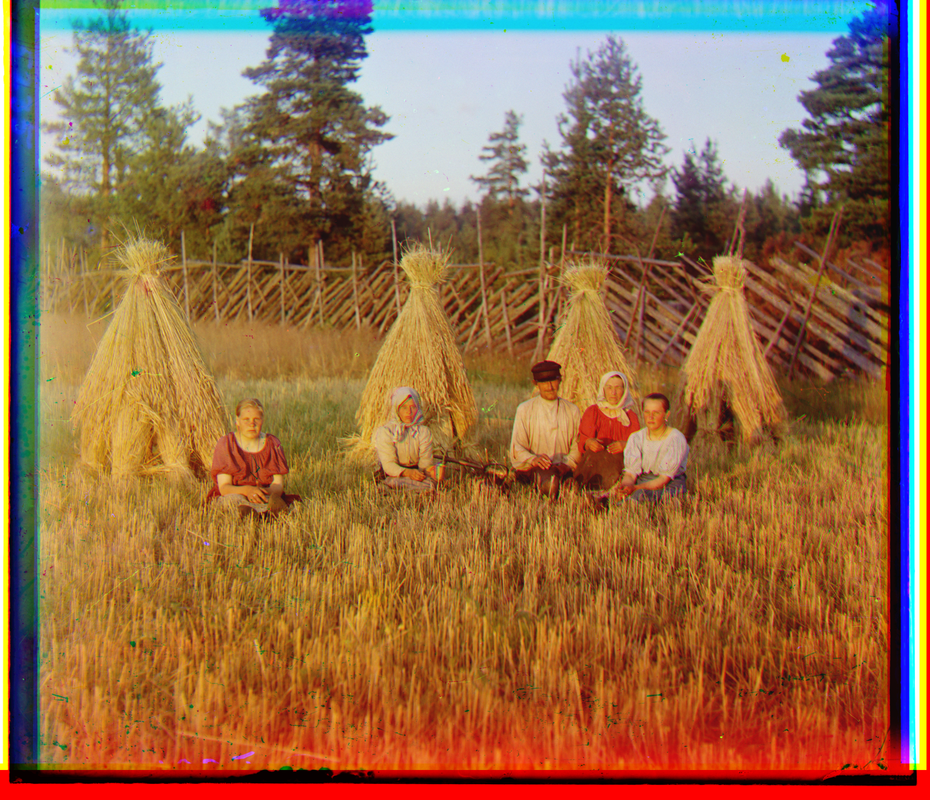
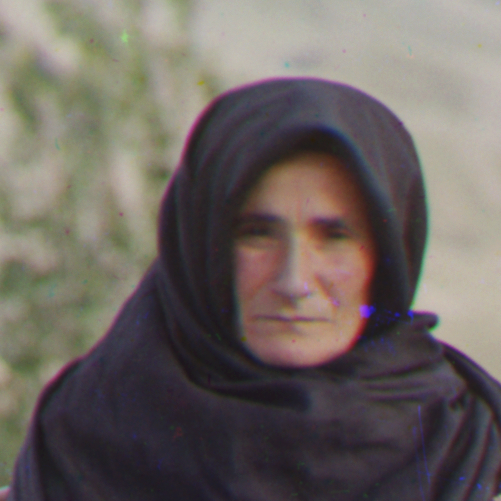
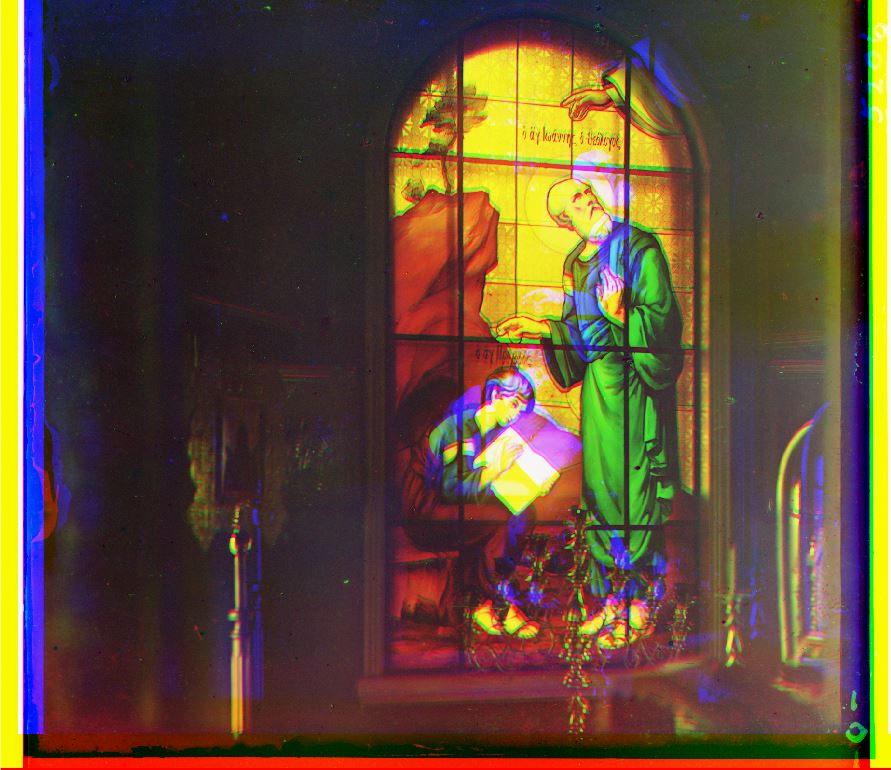
The algorithm works pretty well. Of the ten or so images I used, only one was not well aligned. It looks like it failed because the subsets of the image that were used for alignment did not have a lot of structure and spatial detail. Here are some final aligned images.
The algorithm works pretty well. Of the ten or so images I used, only one was not well aligned. It looks like it failed because the subsets of the image that were used for alignment did not have a lot of structure and spatial detail. Here are some final aligned images.
Here is the image that did not work.
Extra Credit
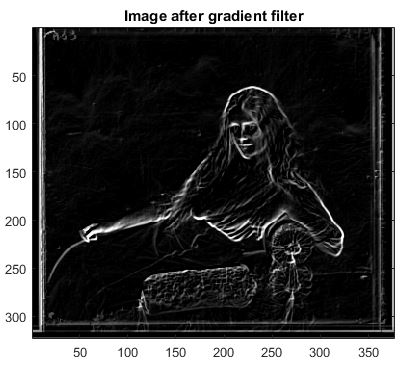
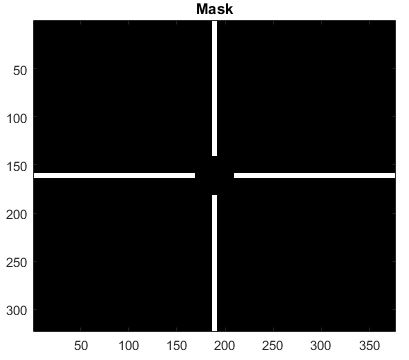
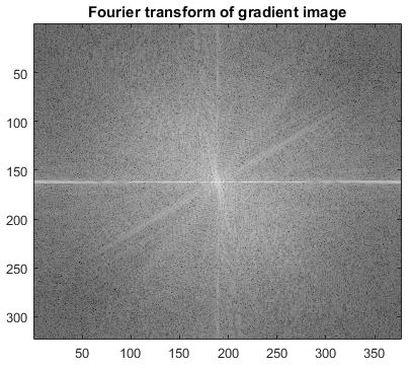
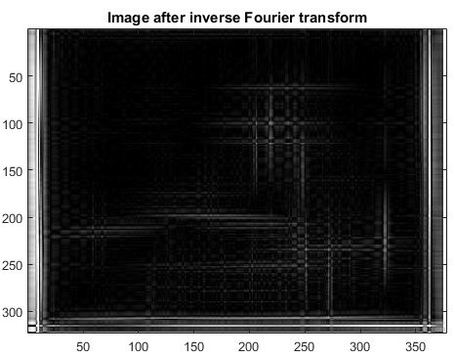
I tried to automatically crop images, but couldn't get it to work. I first resized the image and found the edges by using Prewitt spatial filters (3 x 3) pixels. I knew that this would likely identify the intense gradients at the edge of the photo. I then wanted to eliminate all edges except the vertical and horizontal, so I took the Fourier transform of the image and multiplied it by the mask shown below. Unfortunately, there were too many remaining artifacts from the image so I could not use find command to find pixels that were at edges.
