Project 3: Image Quilting for Texture Synthesis and Transfer
In this project, we created algorithms for generating and transferring textures. For part one, a sample image with some texture is the input, and a new image with the same texture is synthesized by stitching together small blocks (like a quilt). In the second part, two images are provided: one is the texture image and the other as a target image. A new image is created with the low frequency spatial structure of the target image and the texture of the texture image.
Texture Synthesis: Best SSD match
The most obvious way to synthesize a texture image is to just take random blocks from the source image and smack them together. This doesn't work so well because you see the boundaries very distinctly. The purpose of this section of the project was to use a smarter algorithm to synthesize the image.
When we consider adding a block to the output image, we see how well it fits by calculating the sum of the squared difference (SSD) of its border and the border of where it is being placed in the image. The SSD is calculated for every possible tile that could be placed in the picture. After computing all SSD for a single position in the output image, the algorithm sorts these values and randomly selects one of the top tiles to be placed in the output image. The top block match isn't always picked so as to avoid repeated structures in the synthesized image. We want it to appear as a "random" textured image with no obvious repeated blocks in the output image.
As you may tell, there are several parameters that can be tweaked by the user that greatly change the results:
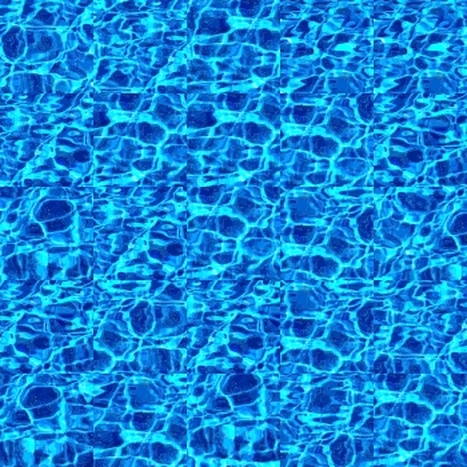
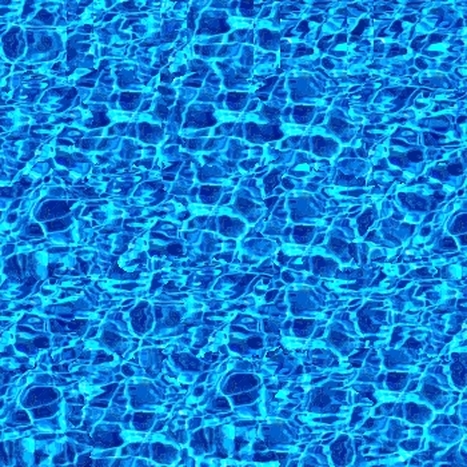
Example 1: Water in the pool
Texture Synthesis: Best SSD match
The most obvious way to synthesize a texture image is to just take random blocks from the source image and smack them together. This doesn't work so well because you see the boundaries very distinctly. The purpose of this section of the project was to use a smarter algorithm to synthesize the image.
When we consider adding a block to the output image, we see how well it fits by calculating the sum of the squared difference (SSD) of its border and the border of where it is being placed in the image. The SSD is calculated for every possible tile that could be placed in the picture. After computing all SSD for a single position in the output image, the algorithm sorts these values and randomly selects one of the top tiles to be placed in the output image. The top block match isn't always picked so as to avoid repeated structures in the synthesized image. We want it to appear as a "random" textured image with no obvious repeated blocks in the output image.
As you may tell, there are several parameters that can be tweaked by the user that greatly change the results:
- The size of the block being added - by far the most interesting. How big must the tile be before the texture starts repeating itself. Appartently this is a well studied area (see Markov neighborhood). For the purposes of this project, I just tweak the size on my own, and pick what looks good.
- The number of pixels that considered in the overlap - Generally, I set the size of boarder as some percentage (maybe 10-20 %) of the dimension of the block selected to be placed in output image.
- The number of blocks to include in the synthesis - This turned out being bigger deal than I thought. You want to feel like your creating a new image that extends the texture of the input image. But based on the size of the block you choose and the size of the input image, you may need a lot of blocks! And you don't want to be sitting by your computer forever... You could run it overnight.
- How many blocks to include in the top best matches for adding to the image - Also makes you think. The "right" number of top hits to use was definitely image dependent, so I adjusted it for each one. The tradeoff is between fitting the blocks nicely together and avoiding repeats in the structure.
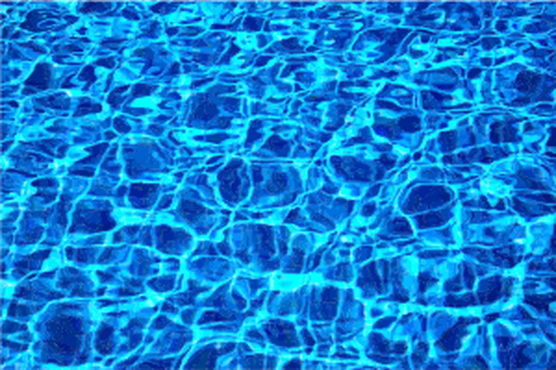
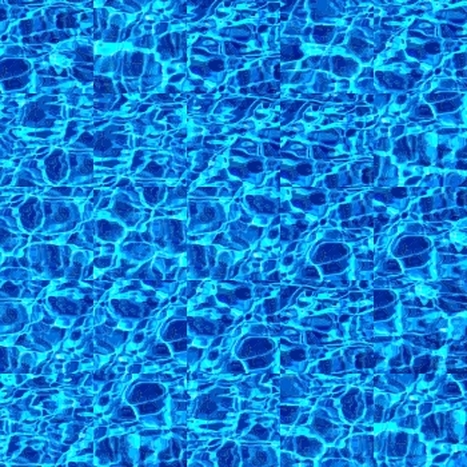
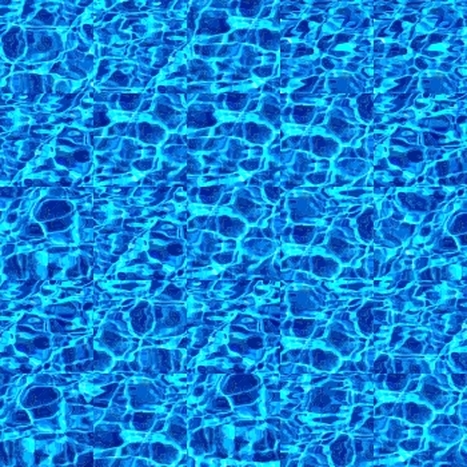
Example 1: Water in the pool
INPUT IMAGE
|
RANDOM BLOCKS
|
SSD MATCHING
|
It's a pretty underwhelming result for the water example. You see a slight improvement over just randomly smacking blocks together, but there is also some repeated structure noticeable.
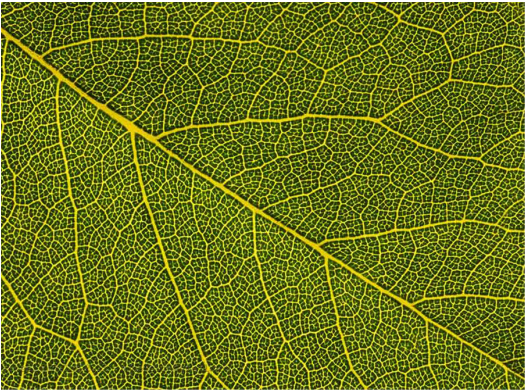
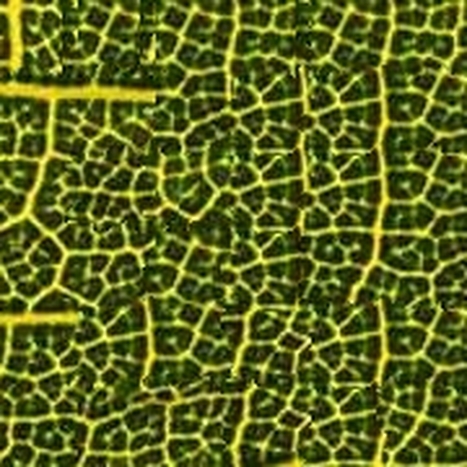
Example 2: Leaf
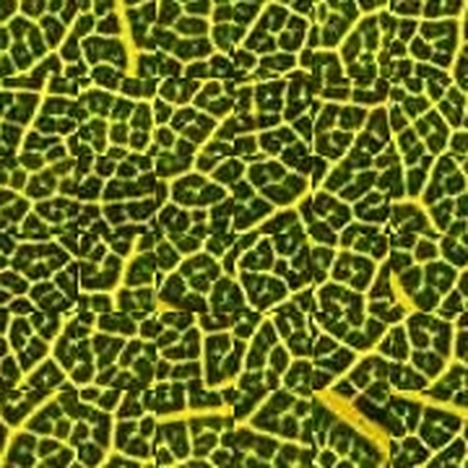
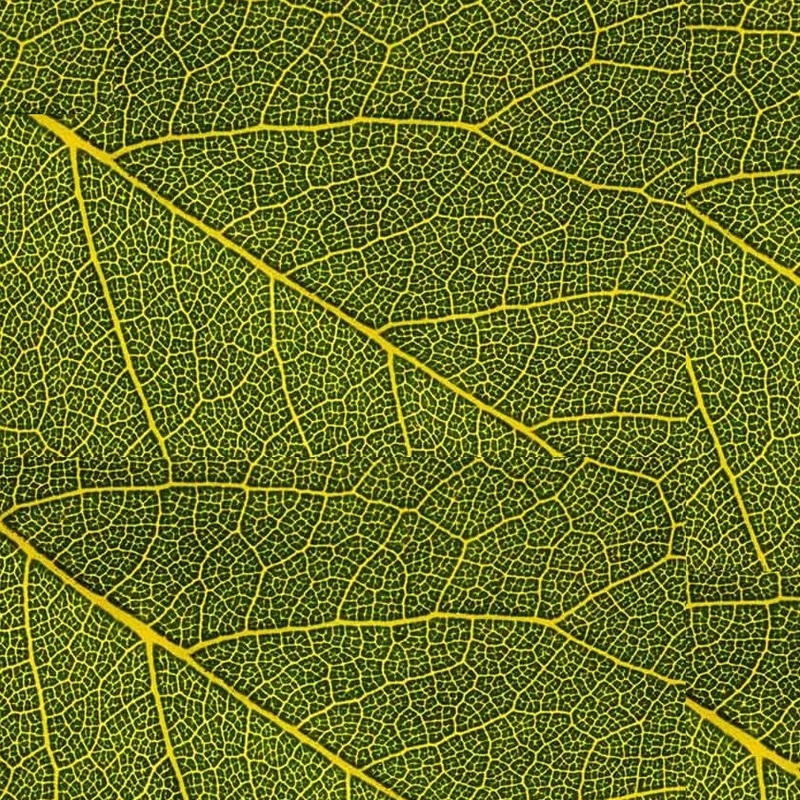
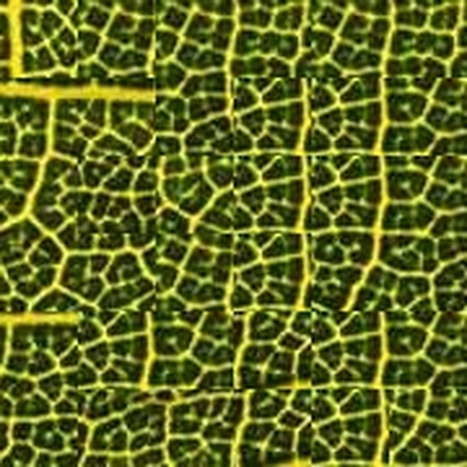
In this example, I want to highlight how block size can change results. Firstly, it is way more obvious when you just stick random blocks together in this example. However, due to the large diagonal stem going through the image it is tougher to get a sense for what you want the output texture to be. In the first attempt shown, you see this stem essentially get reassembled. This is because of the block size and only picking the top hit when placing blocks.
Also shown are results for a smaller block, but honestly it's pretty disappointing. It just doesn't look "random" enough, too many patterns. I think that the result looks better when just randomly placing tiles. Yikes...
INPUT IMAGE
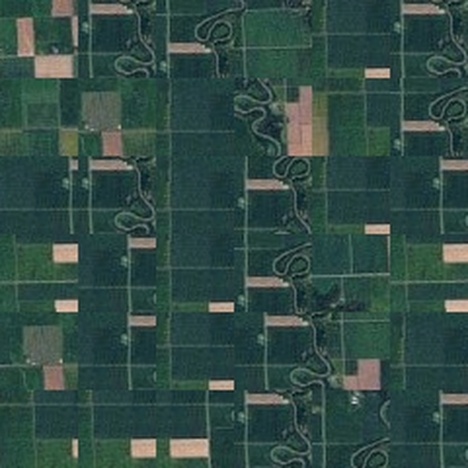
Example 3: Farmland
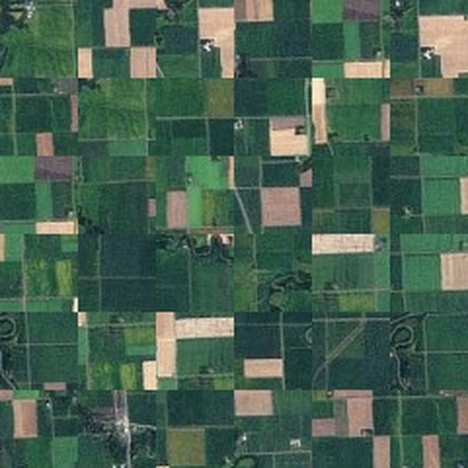
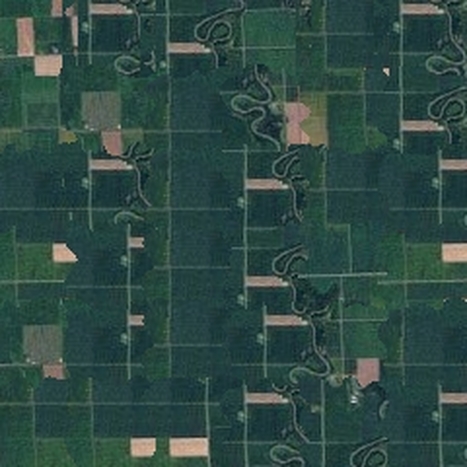
And finally the results for the farmland image. I think that the blocks look a bit better, but it is particularly difficult to see differences because is already composed of blocks. The river really ruins things. You can see it gets better placed together when using SSD, but it still doesn't look great.
I will include additional examples at the end so you can see comparison between this approach and the one with the minimum path.
|
Texture Synthesis: Best SSD match + Minimum error path
The next part in this project was to trace the minimum error path along the boundary when stitching the blocks together. I wrote the code for tracing this path by taking the SSD image of the boundary and presenting several options for travel. If it was a vertical edge, the path could travel left, right, or down. If it was a horizontal edge, the path could travel up down or to the right. I also had the path start at user defined number of start positions. The boundaries where then cut according to this path and stuck together like a puzzle piece. A few challenges with writing this algorithm:
Here are some examples of the pathway being drawn on a difference image. It works pretty well, but I know it's not the best. Let's move onto to seeing how it improves the results in the previous section. |
This is the difference image, and the path of minimum error is plotted over top it.
|
Some additional examples
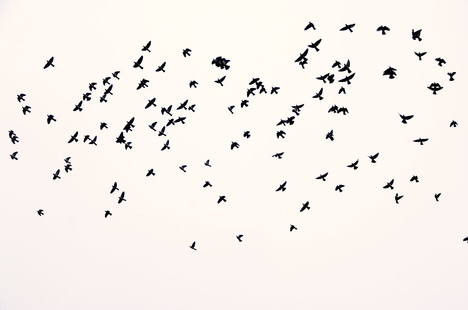
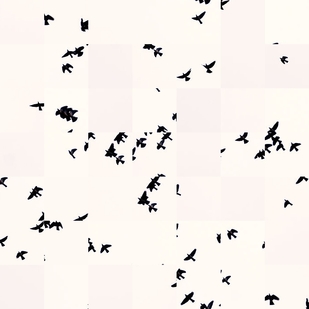
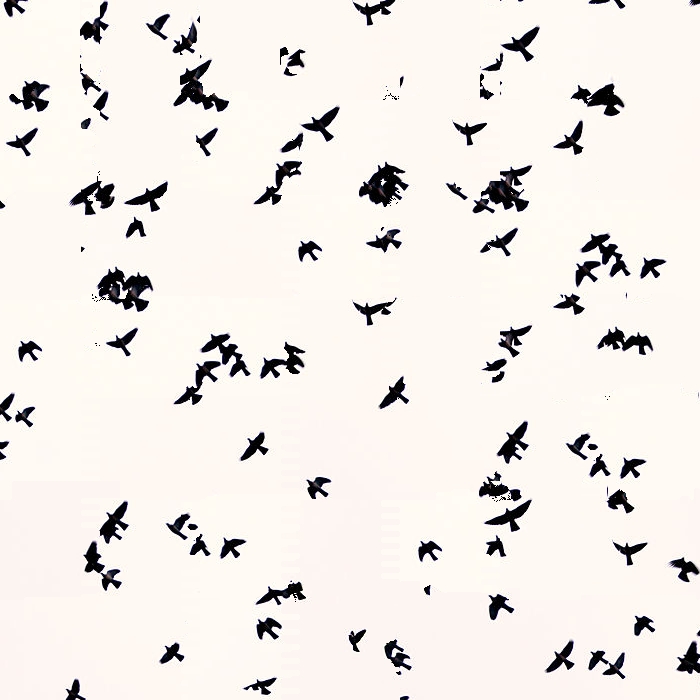
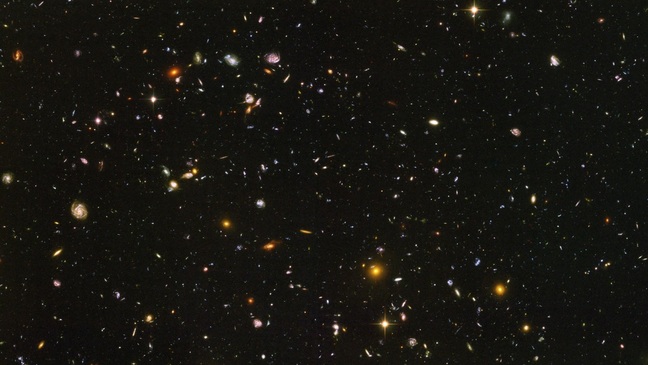
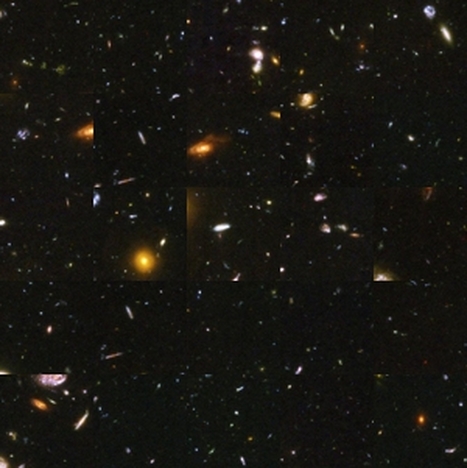
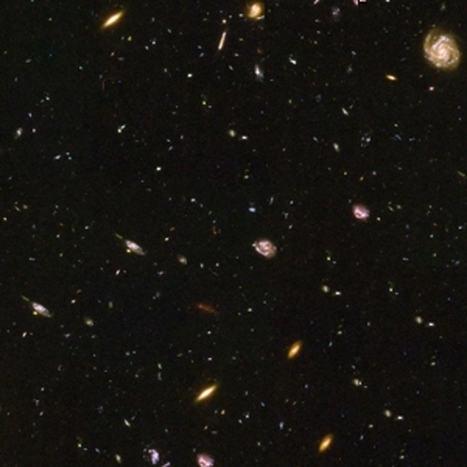
I chose the bird image because it was practically binary image. I wanted to see if it was easier to stitch it together in comparison to the images provided. I picked the deep space image because I wanted to create a new universe and I thought the algorithm would do a decent synthesizing one.
I chose the bird image because it was practically binary image. I wanted to see if it was easier to stitch it together in comparison to the images provided. I picked the deep space image because I wanted to create a new universe and I thought the algorithm would do a decent synthesizing one.
Universe synthesis may be cheap example... Looks pretty good with random blocks alone
original image
Texture Transfer
In this final part of the project, a texture from one image was used to synthesize another image. It is similar to the texture synthesis part of this assignment, but in addition we add another error term that compares how well the block matches the target image. We use a term alpha to determine how much we put weight on having smooth borders versus matching the target image. In addition, we have the same parameters to tweak as I described in the first part of the assignment.
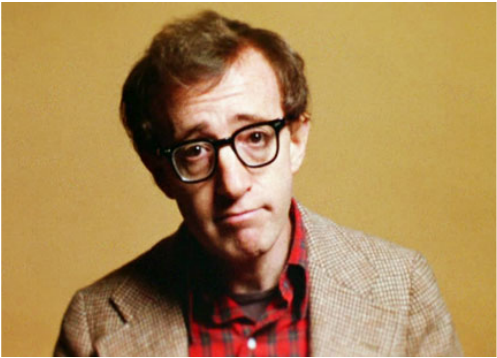
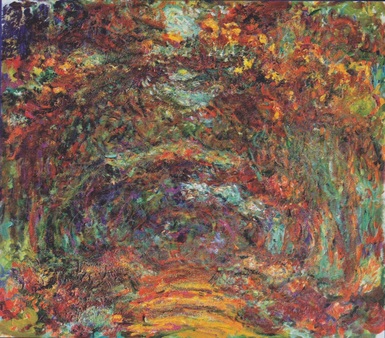
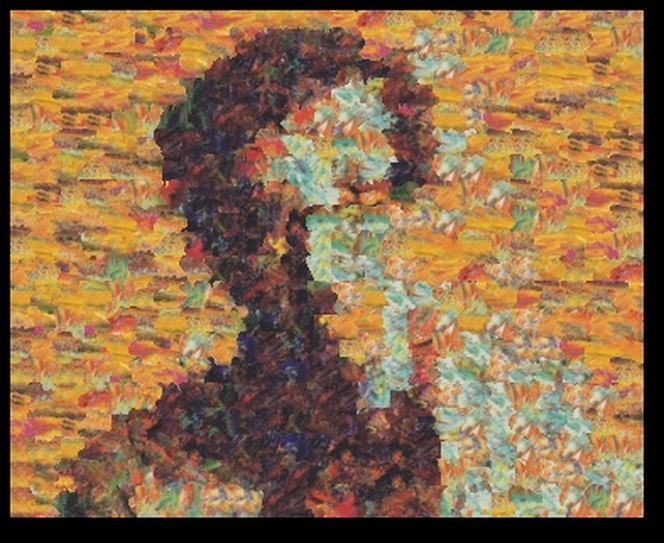
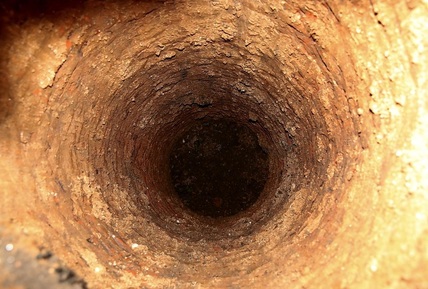
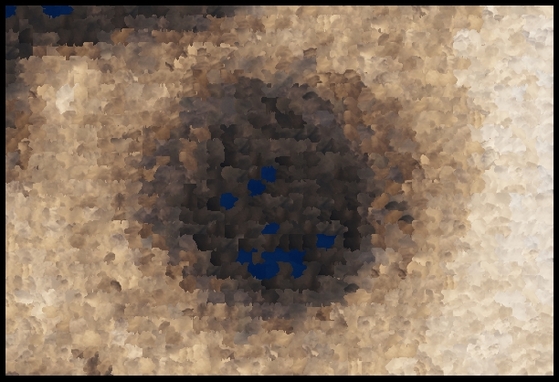
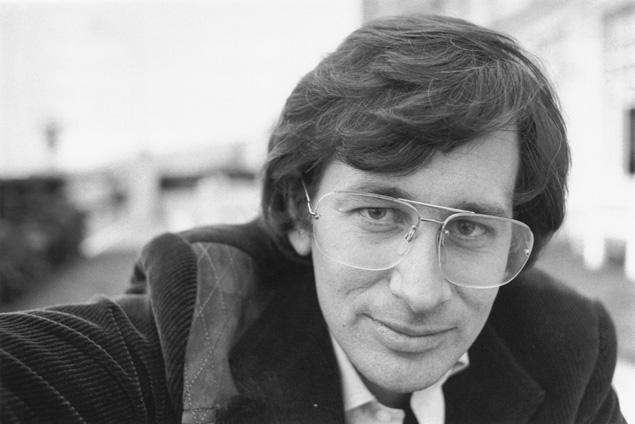
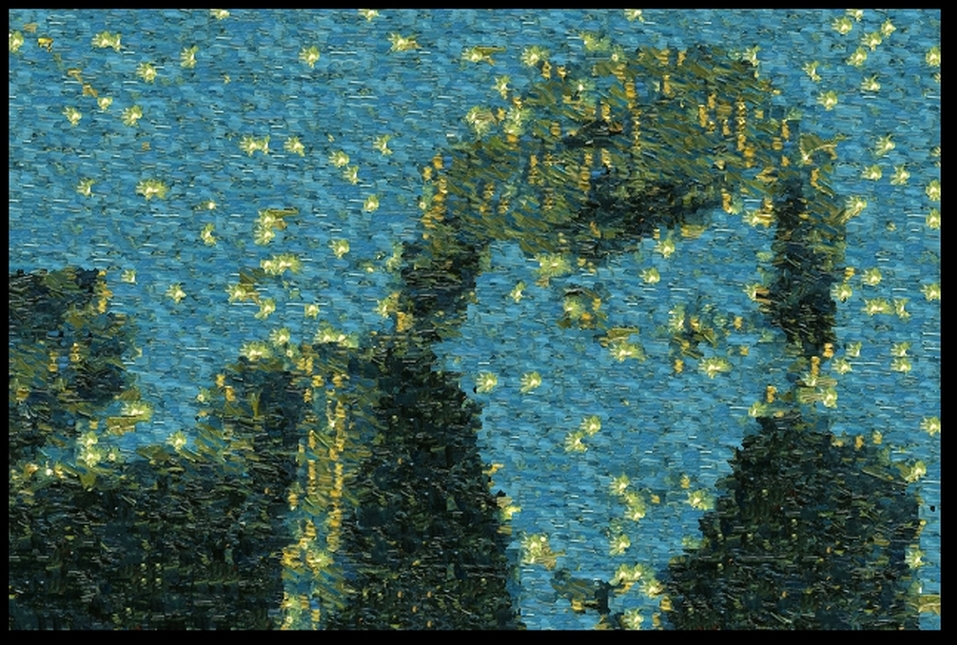
Here are some of my results. I chose colorful texture images with unique strokes to try to get the coolest effects. I wanted to try a target image with a person's face so I went with Woody Allen. I chose the hole target image because I wanted to see how depth would be illustrated with this algorithm.
RESULT 1
RESULT
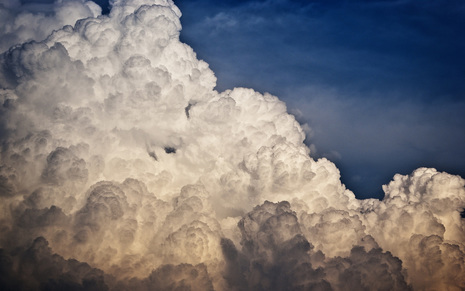
Looks like some of the blue sky got stitched into the dark region of the hole. If I had increased the value of alpha, maybe I would have eliminated this. This would make the match to the target image worse though.
